cessna 182 maintenance manual
Cessna 182 Maintenance Manual: A Comprehensive Overview (Updated 03/30/2026)
This manual details crucial upkeep for the Cessna 182, referencing inspection intervals as documented by the NTSB, ensuring airworthiness and safety․
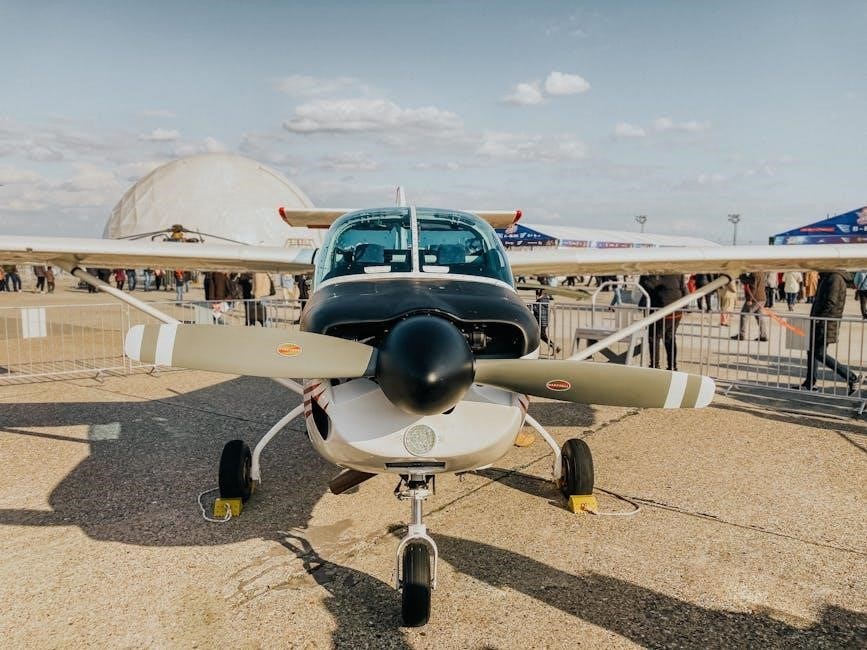
Maintaining a Cessna 182, a popular single-engine aircraft, demands a rigorous and systematic approach to ensure continued airworthiness and operational safety․ This introduction outlines the fundamental principles governing Cessna 182 maintenance, emphasizing the importance of adhering to established schedules and procedures․ Proper maintenance isn’t merely about compliance; it’s about safeguarding lives and protecting a significant investment․
Regular inspections, detailed in the aircraft’s maintenance manual and supplemented by Airworthiness Directives (ADs) and Service Bulletins, are paramount․ These inspections cover all critical systems – engine, propeller, landing gear, flight controls, avionics, and more․ Understanding the specific inspection intervals, such as the annual and 100-hour inspections, is crucial for owners and operators․ Resources like the National Transportation Safety Board (NTSB) provide valuable data regarding inspection findings and related safety recommendations, as seen in documentation concerning Cessna 182R inspections․

Importance of Following the Maintenance Manual
Strict adherence to the Cessna 182 maintenance manual is not optional; it’s a cornerstone of safe aircraft operation and regulatory compliance․ Deviations can lead to catastrophic failures, compromised airworthiness, and potential legal ramifications․ The manual provides detailed, step-by-step instructions for inspections, repairs, and component replacements, developed by the manufacturer based on extensive engineering analysis and operational experience․
Ignoring recommended maintenance schedules, as highlighted by resources like the NTSB’s documentation on Cessna 182R inspections, significantly increases the risk of unexpected mechanical issues․ Consistent maintenance ensures early detection of wear and tear, preventing minor problems from escalating into major, costly repairs․ Furthermore, proper record-keeping, guided by the manual, is essential for demonstrating compliance with aviation regulations and maintaining the aircraft’s value․ Ultimately, following the manual protects both the aircraft and its occupants․
Locating and Understanding Your Cessna 182 Manual

Obtaining the correct Cessna 182 maintenance manual is the first crucial step․ Cessna provides these manuals, typically specific to the aircraft’s serial number and model year․ Digital versions are often available through Cessna’s official channels or authorized distributors․ Ensure the manual corresponds precisely to your aircraft; variations exist․
Understanding the manual’s structure is equally important․ It’s generally organized by system (engine, avionics, fuel, etc․) and inspection type (annual, 100-hour)․ Familiarize yourself with the abbreviations, symbols, and terminology used․ Resources like the NTSB’s incident reports (e․g․, regarding Cessna 182R inspections) can highlight areas where manual adherence is critical․ Don’t hesitate to consult with a certified mechanic if any section is unclear – proper interpretation is vital for safe and effective maintenance․
Scheduled Maintenance Inspections
Regular inspections, like the annual and 100-hour checks, are vital for maintaining Cessna 182 airworthiness, as detailed in official documentation and reports․
Annual Inspection – Detailed Breakdown
The Annual Inspection for a Cessna 182 is a comprehensive assessment mandated by aviation regulations, typically performed by a certified A&P mechanic․ This inspection goes far beyond routine checks, encompassing a detailed examination of the aircraft’s entire structure․
Key areas include a thorough inspection of the airframe for corrosion, cracks, and deformation, with particular attention paid to critical components like the wings, fuselage, and control surfaces․ The engine receives meticulous scrutiny, involving compression checks, a review of the engine logbooks, and inspection of all accessories․
Landing gear, including tires, brakes, and struts, are carefully examined for wear and proper function․ The fuel system is inspected for leaks and contamination, while the flight controls are checked for smooth operation and security․ Avionics are tested to ensure accurate performance, and the entire electrical system is assessed for proper wiring and functionality․ Documentation of all findings and corrective actions is crucial for maintaining airworthiness․
100-Hour Inspection – Requirements and Checklist
The 100-Hour Inspection, required for Cessna 182s operated for hire, or flown beyond 100 hours since the last Annual, focuses on preventative maintenance․ While less exhaustive than an Annual, it’s vital for continued safe operation․ A qualified mechanic performs this inspection, adhering to a specific checklist․
Core components include a detailed inspection of the engine oil levels, filters, and overall condition․ The propeller is checked for damage and security․ Landing gear tires, brakes, and struts receive scrutiny․ Control surfaces and associated hardware are inspected for freedom of movement and secure attachment․
The fuel system is examined for leaks, and the exhaust system for cracks or deterioration․ A functional check of all lights, instruments, and avionics is performed․ Proper documentation of all inspected items and any necessary repairs is essential for compliance and maintaining a robust maintenance record․
Transponder & ELT Inspections – Compliance Details
Maintaining compliant transponder and Emergency Locator Transmitter (ELT) systems is paramount for Cessna 182 safety and regulatory adherence․ Transponders require periodic inspection, typically every 24 calendar months, to ensure accurate altitude reporting and identification․ This includes verifying antenna connections and proper functionality with Air Traffic Control․
ELT inspections, mandated annually, confirm battery integrity and transmitter operability․ The ELT must be capable of transmitting a signal on 121․5 MHz and 406 MHz․ Proper registration with the FAA is crucial for effective search and rescue operations․
Detailed logbook entries documenting these inspections, including dates, serial numbers, and any corrective actions, are essential․ Failure to comply with these requirements can result in operational limitations and potential penalties․ Regular self-testing of the ELT is also highly recommended between formal inspections․

Pitot-Static System Inspection – Ensuring Accuracy

The Pitot-static system is critical for accurate airspeed, altitude, and vertical speed indications in your Cessna 182․ Regular inspections, typically during the annual inspection, are vital for flight safety․ This involves a thorough examination of all lines for kinks, leaks, or obstructions․
Static ports and the pitot tube must be clear of debris, ice, or insect nests․ A functional check using a calibrated test set verifies the accuracy of the instruments across their operational range․ Leak checks confirm the system’s integrity, ensuring no erroneous readings occur during flight․
Properly functioning pitot-static instruments are essential for instrument meteorological conditions (IMC) and safe flight operations․ Detailed documentation of all inspections, tests, and any repairs performed must be recorded in the aircraft’s logbooks for compliance and traceability․

Key Systems Maintenance
Maintaining the engine, propeller, landing gear, and flight controls is paramount for safe Cessna 182 operation, demanding diligent inspection and servicing procedures․
Engine Maintenance – Lycoming IO-540 Focus
The Lycoming IO-540 engine, a cornerstone of the Cessna 182, requires meticulous maintenance to ensure reliable performance․ Regular oil changes, utilizing the manufacturer’s specified grade, are critical, typically every 50 hours or annually, whichever comes first․
Cylinder compression checks should be performed during annual inspections to identify potential wear or damage․ Valve adjustments are essential for optimal engine efficiency and longevity, usually scheduled based on hours time-in-service․
Inspect the engine for any signs of oil leaks, paying close attention to gaskets and seals․ Magneto inspections and overhauls are vital for consistent ignition․ Proper fuel mixture control and leaning procedures, as outlined in the Pilot Operating Handbook (POH), contribute significantly to engine health․
Don’t overlook the importance of exhaust system inspections for cracks or corrosion, and ensure proper baffling is in place to maintain correct cylinder head temperatures․
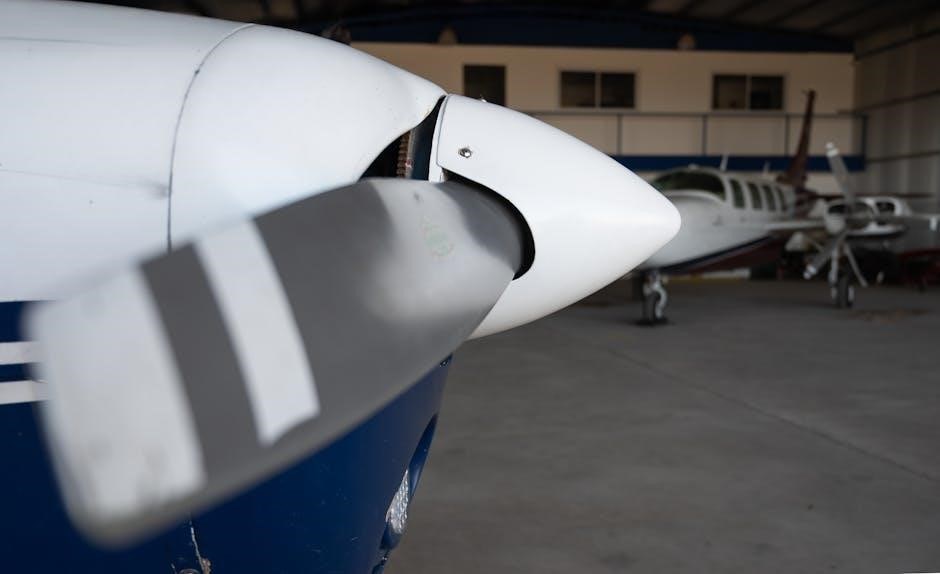
Propeller Maintenance – McCauley Propellers
McCauley propellers, commonly found on Cessna 182s, demand consistent inspection and maintenance for safe operation․ Regular checks for nicks, dents, and corrosion are paramount, particularly on the leading edges of the blades․ These inspections should occur during each annual and 100-hour inspection․
Lubrication of the propeller’s internal components, following McCauley’s recommended service schedule, is crucial for smooth operation and preventing internal wear․ Examine the de-ice boots (if equipped) for damage and ensure proper adhesion․
Check the propeller control linkage for free movement and proper adjustment; Inspect the spinner assembly for cracks or looseness, and verify the security of all fasteners․
Overhaul intervals are dictated by time and usage, as specified by McCauley, and should be strictly adhered to for continued airworthiness and performance․ Proper care extends propeller life significantly․
Landing Gear Maintenance – Inspection & Servicing
Cessna 182 landing gear requires meticulous inspection and servicing to ensure safe landings and ground handling․ During each inspection, thoroughly examine the main and nose gear structures for cracks, corrosion, and deformation․ Pay close attention to weld points and areas subject to stress․
Inspect the tires for wear, damage, and proper inflation․ Check the brake discs and linings for sufficient material and smooth operation․ Service the brakes according to the manufacturer’s recommendations, including fluid level checks and bleeding․
Lubricate all moving parts of the gear mechanism, including hinges and retraction linkages․ Verify the proper operation of the gear extension and retraction system․ Inspect the gear position indicators for accuracy․
Regular maintenance prevents unexpected failures and maintains the structural integrity of the landing gear, vital for safe aircraft operation․
Flight Control Maintenance – Cable & Rod Inspection
Maintaining the Cessna 182’s flight controls is paramount for safe operation․ Regular inspection of control cables and pushrods is crucial, focusing on wear, fraying, and corrosion․ Cables must move freely within their conduits without binding or excessive play․
Inspect rod ends for looseness and ensure secure attachment․ Check for any cracks or deformation in the control surfaces themselves – ailerons, elevator, and rudder․ Pay particular attention to bellcranks and pulleys, verifying smooth operation and proper lubrication․
Any sign of damage necessitates immediate replacement or repair․ Proper tension adjustment of control cables is vital for responsive and accurate flight control․ Document all inspections and any corrective actions taken in the aircraft’s logbook․
Consistent attention to these components ensures precise control and prevents potential in-flight hazards․
Specific Component Maintenance
Detailed procedures cover individual Cessna 182 parts, like avionics, electrical systems, and fuel lines, ensuring optimal performance and reliability throughout operation․
Avionics Maintenance – Troubleshooting & Repair
Maintaining the avionics suite in a Cessna 182 is paramount for safe and efficient flight operations․ Regular troubleshooting should encompass a thorough examination of all installed systems, including communication radios, navigation equipment (GPS, VOR, ILS), and transponders․
Common issues often involve antenna connections, wiring integrity, and software glitches․ Repair procedures range from simple connector tightening and software updates to component replacement․ Pilots should be trained to recognize basic avionics malfunctions and report them promptly․
Detailed logbook entries are crucial, documenting all inspections, repairs, and alterations performed on the avionics․ Compliance with applicable Airworthiness Directives (ADs) related to avionics is non-negotiable․ Utilizing qualified avionics technicians is highly recommended for complex repairs, ensuring adherence to FAA regulations and manufacturer specifications․ Proper grounding and shielding are vital to prevent interference and ensure accurate signal reception․
Electrical System Maintenance – Battery & Wiring Checks
The Cessna 182’s electrical system demands meticulous maintenance to guarantee reliable power for all aircraft functions․ Routine battery checks are essential, including voltage testing, terminal inspection for corrosion, and electrolyte level verification (for wet-cell batteries)․ Proper charging procedures must be followed to maximize battery lifespan and performance;
Wiring inspections should focus on identifying frayed insulation, loose connections, and signs of arcing․ Pay close attention to areas prone to vibration or chafing․ Continuity tests are vital to confirm circuit integrity․
Regularly inspect circuit breakers and fuses, replacing any that are damaged or exhibit signs of overheating․ Accurate logbook entries detailing all electrical system maintenance are crucial for tracking history and ensuring compliance with regulations․ Qualified technicians should perform complex repairs and modifications to maintain system safety and airworthiness․
Fuel System Maintenance – Tank Inspection & Fuel Lines
Maintaining the Cessna 182’s fuel system is paramount for safe flight operations․ Regular tank inspections are crucial to detect corrosion, sediment buildup, and potential leaks․ Internal tank inspections, performed during scheduled maintenance, should verify structural integrity and cleanliness․ Fuel line examinations must focus on identifying cracks, chafing, and secure connections․
Fuel line replacement should adhere to manufacturer’s specifications, utilizing approved materials․ Fuel filters require periodic replacement to prevent contaminants from reaching the engine․ Proper fuel draining procedures, before each flight, help identify water or debris in the system․
Detailed logbook entries documenting all fuel system maintenance, including tank inspections and line replacements, are essential for regulatory compliance and tracking system health․ Qualified personnel should perform all fuel system work․
Hydraulic System Maintenance (If Equipped) – Fluid Levels & Leaks
For Cessna 182 aircraft equipped with hydraulic systems – typically found in models with complex flaps or brakes – diligent maintenance is vital․ Regular checks of hydraulic fluid levels are the first line of defense against system failures․ Low fluid levels indicate potential leaks within the system, demanding immediate investigation․
Inspections should encompass all hydraulic lines, fittings, and actuators for signs of leakage, corrosion, or damage․ Any detected leaks must be promptly repaired using approved parts and procedures․ Hydraulic fluid contamination can severely impact system performance; therefore, fluid sampling and analysis are recommended during scheduled maintenance․
Proper bleeding of the hydraulic system, after any maintenance, is crucial to eliminate air bubbles and ensure optimal operation․ Detailed logbook entries documenting all hydraulic system maintenance are essential for compliance․
Record Keeping & Regulatory Compliance
Maintaining detailed logs and adhering to Airworthiness Directives (ADs) and Service Bulletins is paramount for legal operation and continued airworthiness․
Logbook Entries – What to Record
Meticulous logbook entries are the cornerstone of any aircraft’s maintenance history, and the Cessna 182 is no exception․ Each inspection, repair, alteration, or preventative maintenance task must be documented comprehensively․ Entries should include the date of the work performed, a detailed description of the work itself – be specific! – the part number and quantity of any replaced components, and the name and certificate number of the mechanic who performed the work․
Don’t simply write “Inspected brakes”; instead, detail what was inspected (pads, rotors, lines), measurements taken, and the condition found․ For discrepancies, clearly state the issue, the corrective action taken, and any associated testing․ Ensure all entries are legible, signed, and dated․ Proper logbook keeping isn’t just good practice; it’s a legal requirement and vital for maintaining the aircraft’s value and airworthiness․ Accurate records demonstrate compliance with regulations and facilitate future maintenance efforts․
Airworthiness Directives (ADs) – Compliance Tracking
Airworthiness Directives (ADs) are mandatory instructions issued by aviation authorities (like the FAA) to correct unsafe conditions found in aircraft, components, or engines․ For your Cessna 182, diligent AD compliance tracking is absolutely critical․ Each AD has a specific number and applicability based on the aircraft’s serial number and configuration․
You must determine which ADs apply to your specific aircraft and meticulously record their completion in the aircraft’s logbooks․ This includes the AD number, date of compliance, and the mechanic’s certification․ Regularly check for new or revised ADs using official FAA resources or subscription services․ Failure to comply with ADs renders the aircraft unairworthy and can have severe legal and safety consequences․ Maintaining a comprehensive AD compliance checklist is highly recommended for streamlined tracking and peace of mind․
Service Bulletins – Recommended Maintenance Actions
Unlike Airworthiness Directives, Service Bulletins (SBs) issued by Cessna are not mandatory, but represent recommended maintenance actions to improve aircraft reliability, performance, or safety․ While compliance isn’t legally required, ignoring SBs can potentially lead to increased maintenance costs or even component failures down the line․
Carefully review each SB applicable to your Cessna 182, considering the potential benefits versus the associated costs․ Document your decision – whether to comply or not – in the aircraft’s maintenance records, along with your reasoning․ Prioritize SBs addressing critical systems or recurring issues․ Regularly checking Cessna’s official website or subscribing to their service bulletin notification service ensures you stay informed about the latest recommendations for optimal aircraft upkeep and longevity․